
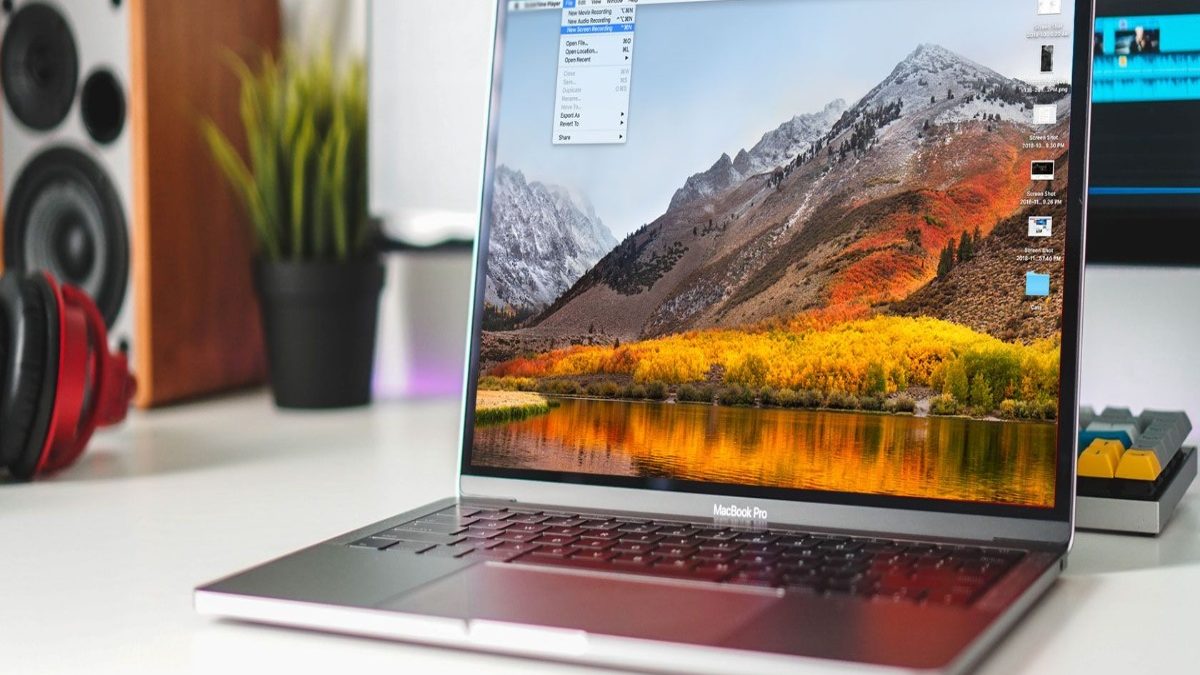
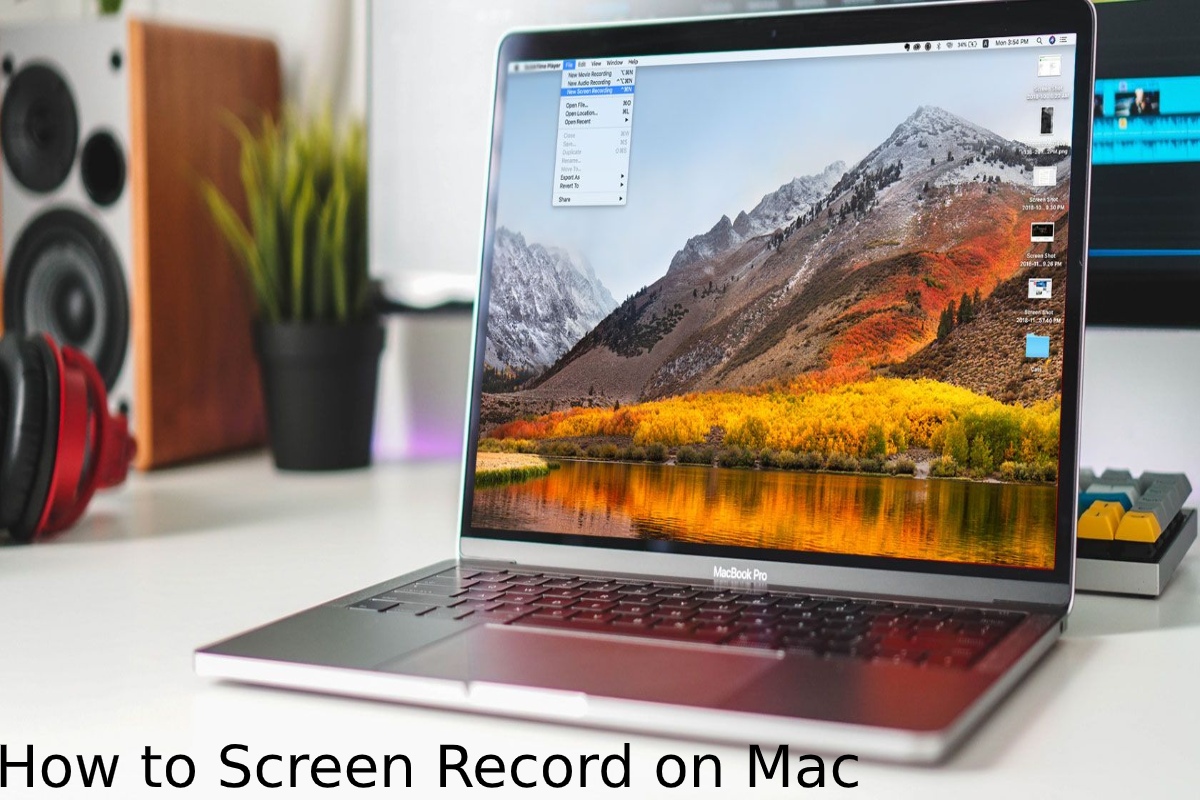
How to screen record on Mac: You can record the entire screen or only a selected portion using the built-in screen recording tools in macOS. You don’t need to install additional software for basic screen recording.
Screen recording is useful for creating tutorials, demonstrating software problems, recording presentations, or showing someone how to complete a task on a Mac. You can also choose whether to include microphone audio with your recording.
This Article Belongs to Laptops & Computers
Table of Contents
Use Shift-Command-5
If your Mac is running macOS Mojave or later, press Shift-Command (⌘)-5 on your keyboard. For detailed instructions and the latest screen-recording options, see Apple’s official guide to recording the screen on MacThis opens the onscreen Screenshot controls, which allow you to take screenshots or record your screen.
The toolbar provides options to:
- Record the entire screen.
- Record a selected portion of the screen.
- Capture a still image of the screen.
- Change recording settings such as the microphone, timer and save location.
Before starting a long recording, make sure your Mac has enough available storage space.
Record the Entire Screen
To record everything displayed on your Mac screen:
- Press Shift-Command-5 to open the Screenshot toolbar.
- Select the option to record the entire screen.
- Click Record in the onscreen controls.
- Your Mac will begin recording.
- When you have finished, click the Stop button in the menu bar.
You can also press Command-Control-Esc (Escape) to stop the recording.
After you stop recording, a video thumbnail may briefly appear in the lower-right corner of your screen. You can click the thumbnail to open the recording and perform actions such as trimming or sharing it.
Record a Selected Portion of the Screen
You don’t always need to record the entire display. macOS also allows you to select a specific area of the screen.
To record part of your screen:
- Press Shift-Command-5.
- Select the option to record a selected portion.
- Drag the selection box around the area you want to record.
- Move the selection if necessary by dragging from inside the selected area.
- Click Record to begin.
- Click the Stop button in the menu bar when you are finished.
This option is particularly useful for tutorials because you can focus on a specific application or section of the screen instead of recording everything.
Crop, Share and Save Your Recording
After you stop recording, a video thumbnail appears briefly in the lower-right corner of the screen. If you take no action, macOS automatically saves the recording.
Click the thumbnail to open the recording. You can then trim the beginning or end of the video or share it using available options.
You can also drag the thumbnail to another location, such as a document, email, Finder window or another application. Control-click the thumbnail to see additional options, including changing the save location, opening the recording in another application or deleting it.
Change Screen Recording Settings
Click Options in the Screenshot toolbar to customise your recording.
Save To
Choose where your recordings should be saved. You can select the Desktop, Documents or another available location.
Timer
You can set a timer so the recording starts immediately or after a 5-second or 10-second delay. This gives you time to prepare the screen before recording begins.
Microphone
If you want to record your voice or other audio, select an available microphone under the Microphone option.
Show Floating Thumbnail
You can choose whether macOS displays the recording thumbnail after you stop recording.
Remember Last Selection
This setting allows your Mac to remember the recording area you selected previously, which can be useful when creating several recordings.
Show Mouse Clicks
Enable Show Mouse Clicks if you want a black circle to appear around the pointer whenever you click. This is especially useful for tutorials because viewers can easily follow your actions.
If you’re comparing different computer platforms, you can also learn more about the best Chromebook to buy and how Chromebook hardware differs from traditional laptops.
Use QuickTime Player
Another way to record your Mac screen is with QuickTime Player, which is included with macOS.
To begin:
- Open QuickTime Player from the Applications folder.
- Select File > New Screen Recording from the menu bar.
- The screen recording controls will appear.
- Select your preferred microphone if you want to include audio.
- Choose whether you want to record the entire screen or a selected area.
- Click to begin recording.
- When finished, click the Stop button in the menu bar or press Command-Control-Esc.
QuickTime Player will automatically open the completed recording. You can then play, edit or share the video.
The mouse is also an important part of interacting with a computer when recording tutorials. If you’re interested in how this device developed, you can read our guide to the history of the computer mouse.
Tips for Better Mac Screen Recordings
Before starting a recording, close unnecessary applications and notifications. This keeps your recording cleaner and prevents private notifications from appearing on screen.
If you are recording a tutorial, consider enabling Show Mouse Clicks so viewers can easily see where you are clicking. For presentations or demonstrations, selecting a specific portion of the screen can also make the final video easier to follow.
You should also check your microphone settings before recording if your video requires narration. A short test recording can help you confirm that both the screen and audio are being captured correctly.
If you are researching laptop hardware and different display technologies, you can also read our guide to the 44Hz laptop.
Where Are Mac Screen Recordings Saved?
When you save a screen recording automatically, macOS generally saves it to the location selected under Options > Save To. The recording is normally saved as a .mov video file.
You can open the recording with QuickTime Player, iMovie or other compatible video-editing and playback applications.
Keep in mind that some applications may restrict screen recording of their windows or content. If a particular app does not appear correctly in a recording, the limitation may be imposed by the application itself.
Conclusion
Recording your Mac screen does not require additional software. With Shift-Command-5, you can quickly record the entire screen or a selected portion and customise options such as the microphone, timer, save location and mouse-click indicators.
For users who prefer another method, QuickTime Player also provides screen-recording functionality. Once the recording is complete, you can save, trim, edit or share the video using your preferred application.
